Migration Notice: LegacyVPN is undergoing a migration to Cisco's ASA VPN. Please refer to https://isea.utoronto.ca/services/vpn/utorvpn/ for documentation on the new service.
Running LegacyVPN
-
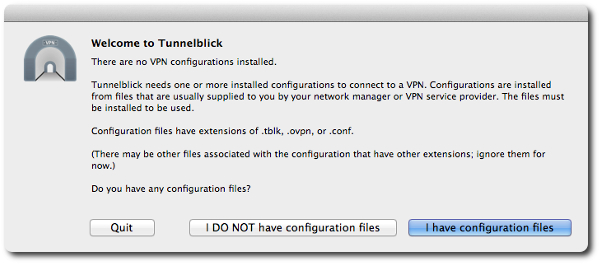
Once the Tunnelblick application is running you will see a prompt that asks you
to install an OpenVPN configuration. Click "I have configuration files".
-
In the next dialog box, click "OpenVPN Configuration(s)".

-
A set of instructions will appear; follow these to install your configuration
file.
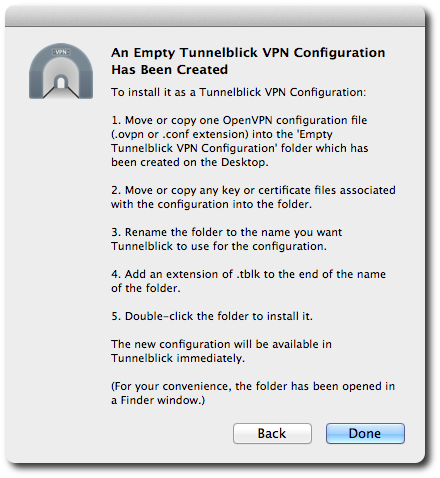
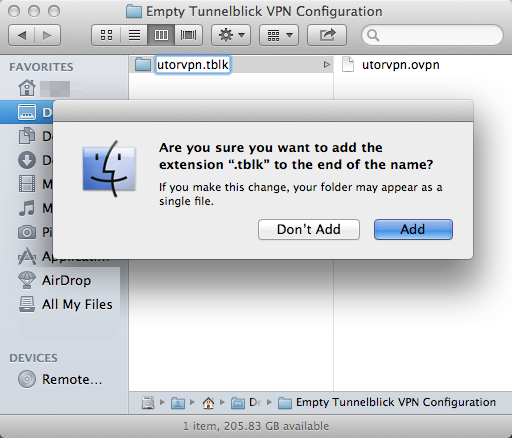
Note: You will be renaming the directory, not your configuration file. You will receive a warning about adding an extension, which you can say "Add" to.
-
In the next dialog box, select "Only me" so that your configuration file will
only be usable from your own account.

-
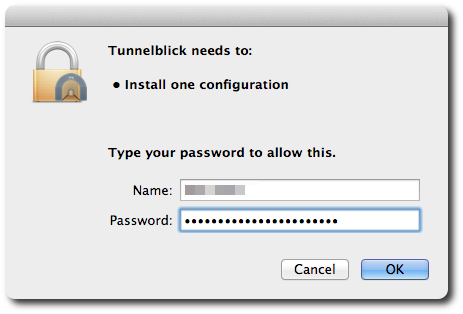
Enter your password when you are prompted to authorize the changes that
Tunnelblick needs to make.
-
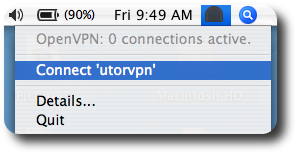
The will be an icon on the right side of
your menu bar. Select Connect 'utorvpn' from the
Tunnelblickmenu to connect to LegacyVPN.
-
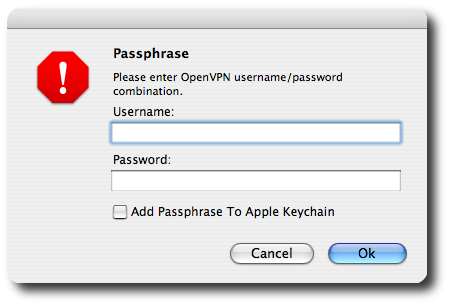
When the password dialog comes up, enter your UTORid and password:
-
When you click "Ok",
Tunnelblickwill attempt to connect to the LegacyVPN service. If the connection is successful, you will see the icon change from a dark grey to white. You are now connected to LegacyVPN. -
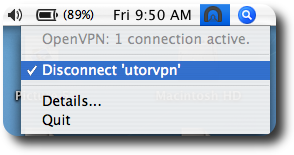
To disconnect, select Disconnect 'utorvpn' from the
Tunnelblickmenu.
last updated 2009/09/02 13:30:12: v. 1.3