Migration Notice: LegacyVPN is undergoing a migration to Cisco's ASA VPN. Please refer to https://isea.utoronto.ca/services/vpn/utorvpn/ for documentation on the new service.
Installing LegacyVPN
Before starting this installation, please note that you will need Admin or root privileges to install and run this application.
- Go to https://vpn.utoronto.ca/, and log in with your UTORid and password.
- Follow the instructions there to create your LegacyVPN certificates and configuration. Once created, download both the installation zip file and your configuration file to your Desktop.
-
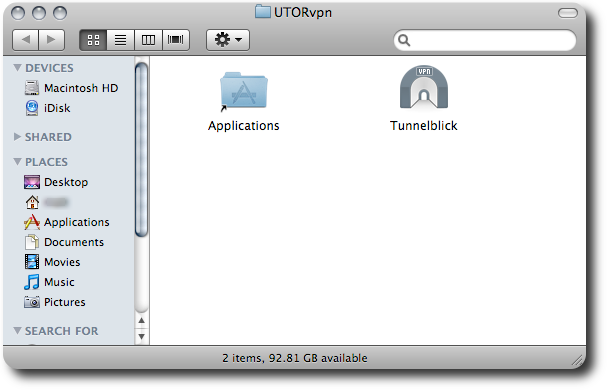
If MacOS didn't unzip the file automatically, double click it to do so. Open
the resulting folder, and you will see this:
-
Drag and drop the
Tunnelblickapplication into the shortcut link to your Applications directory.
-
Next, you will need to install your configuration file. Drag the file
utorvpn.ovpninto theLibrary/openvpnfolder in your home directory. If this directory does not exist, you can create it through the Finder. Open your Library directory and then choose "File -> New Folder" from the Menu Bar. Name the directory "openvpn" and put your configuration file in there. - That's it! Now that you have installed LegacyVPN on your computer, continue reading here to learn how to start up and use LegacyVPN.
last updated 2007/11/08 21:19:43: v. 1.1